Last updated November 21, 2026
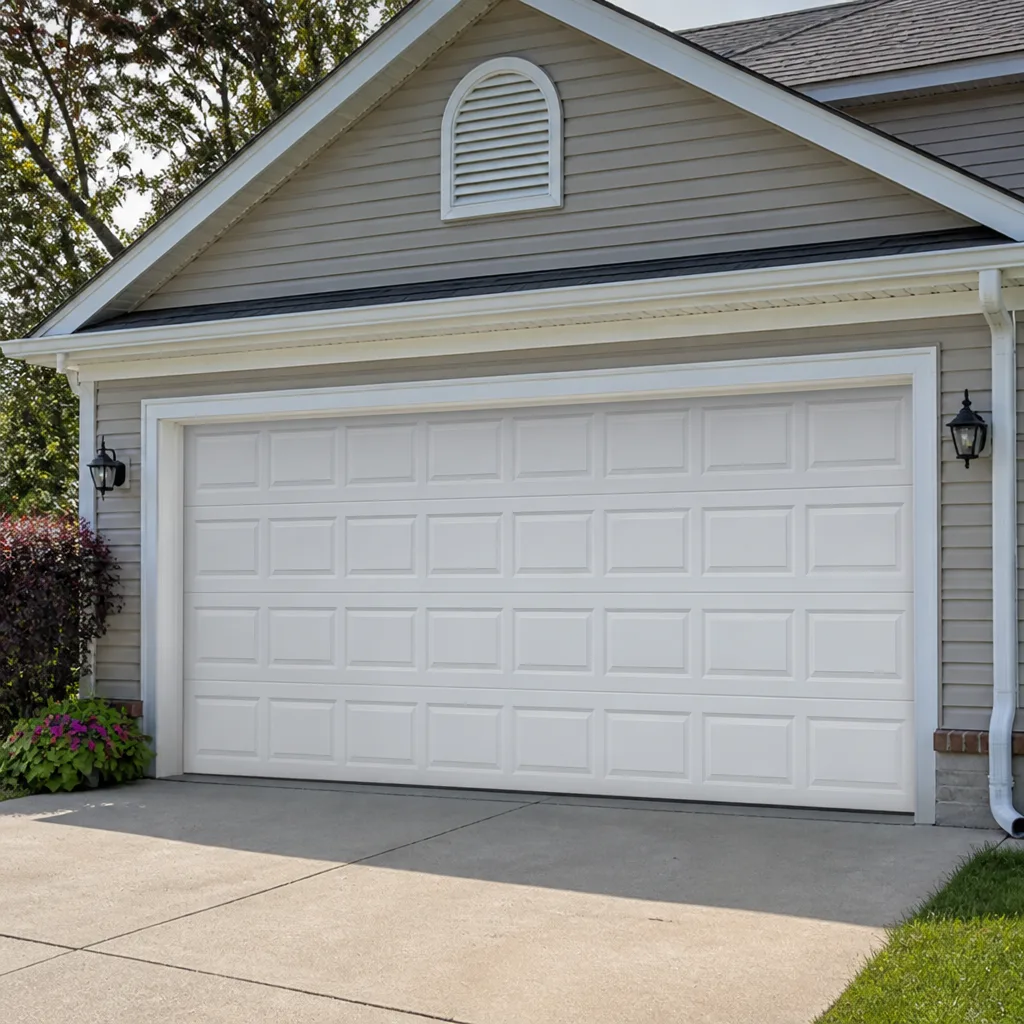 Raised-panel steel
 Carriage house
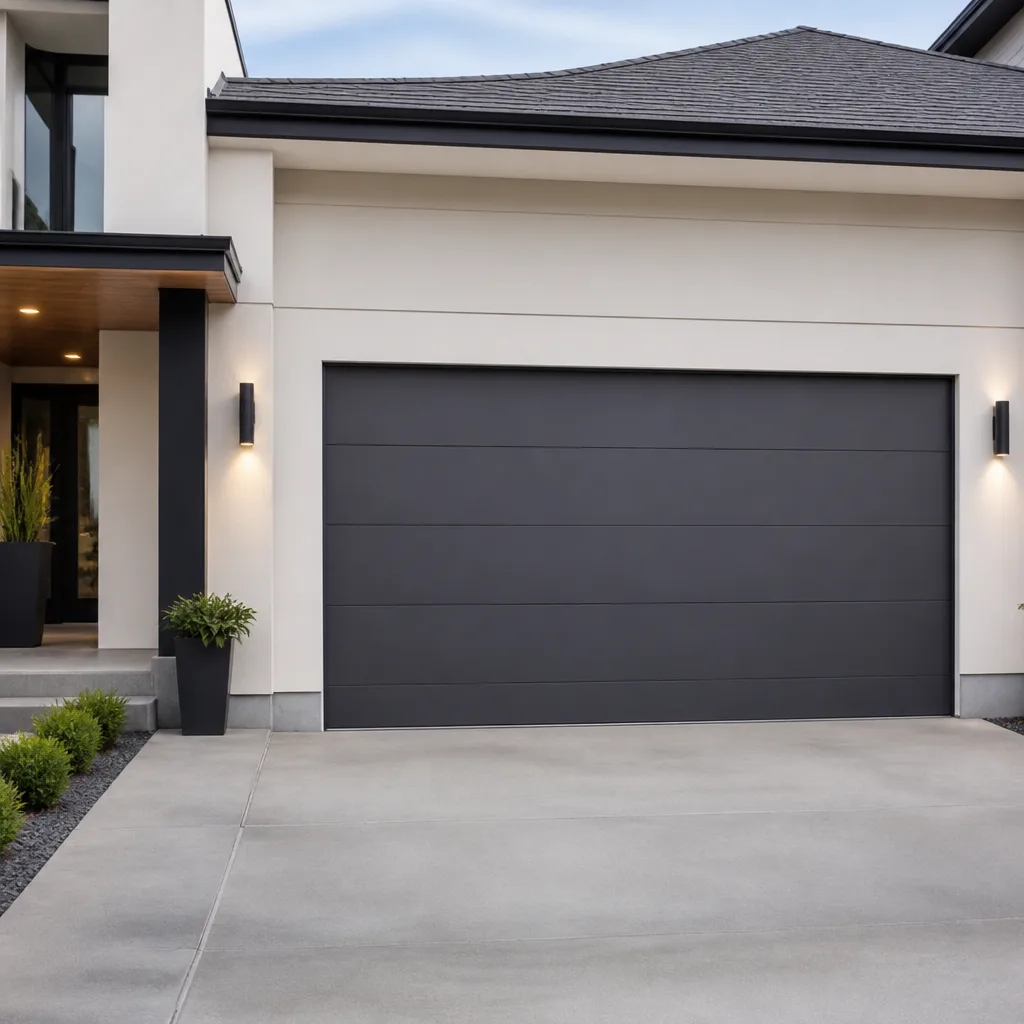 Modern flush
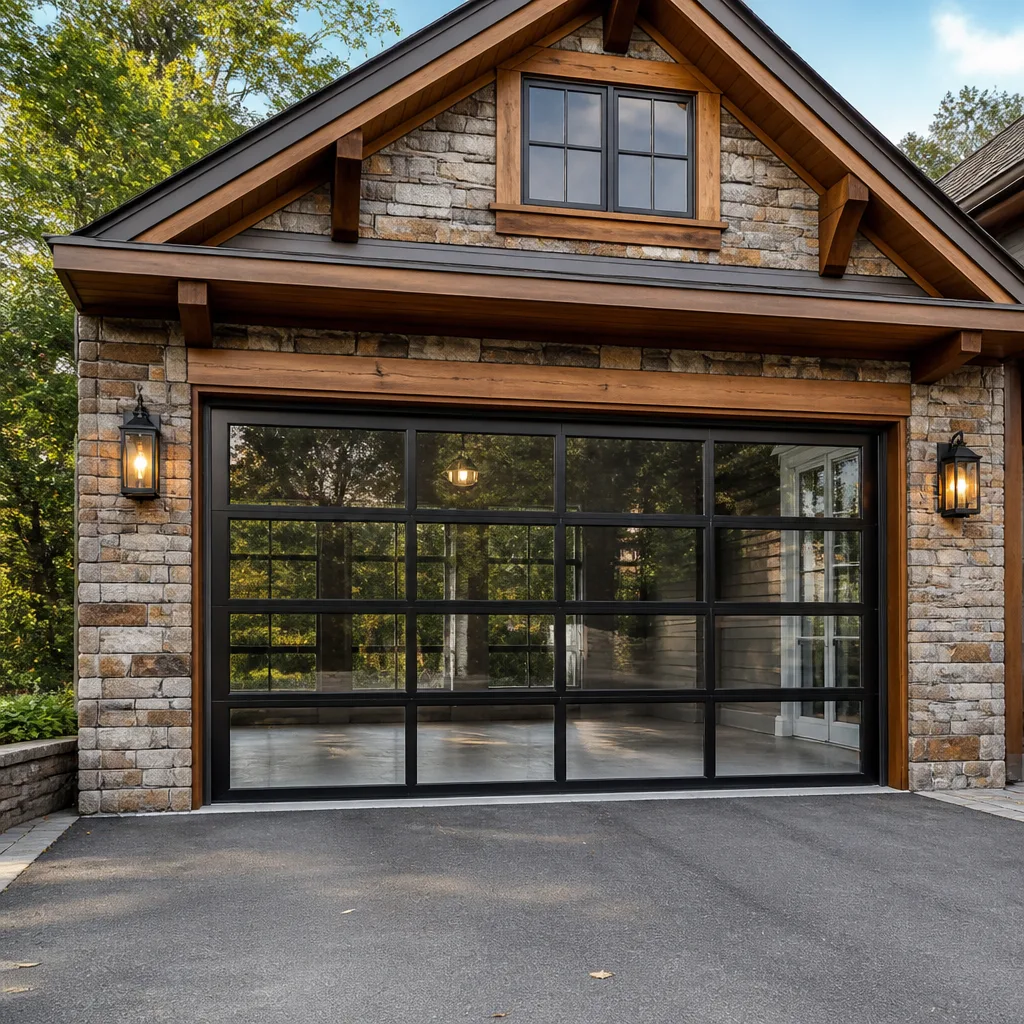 Full-view glass
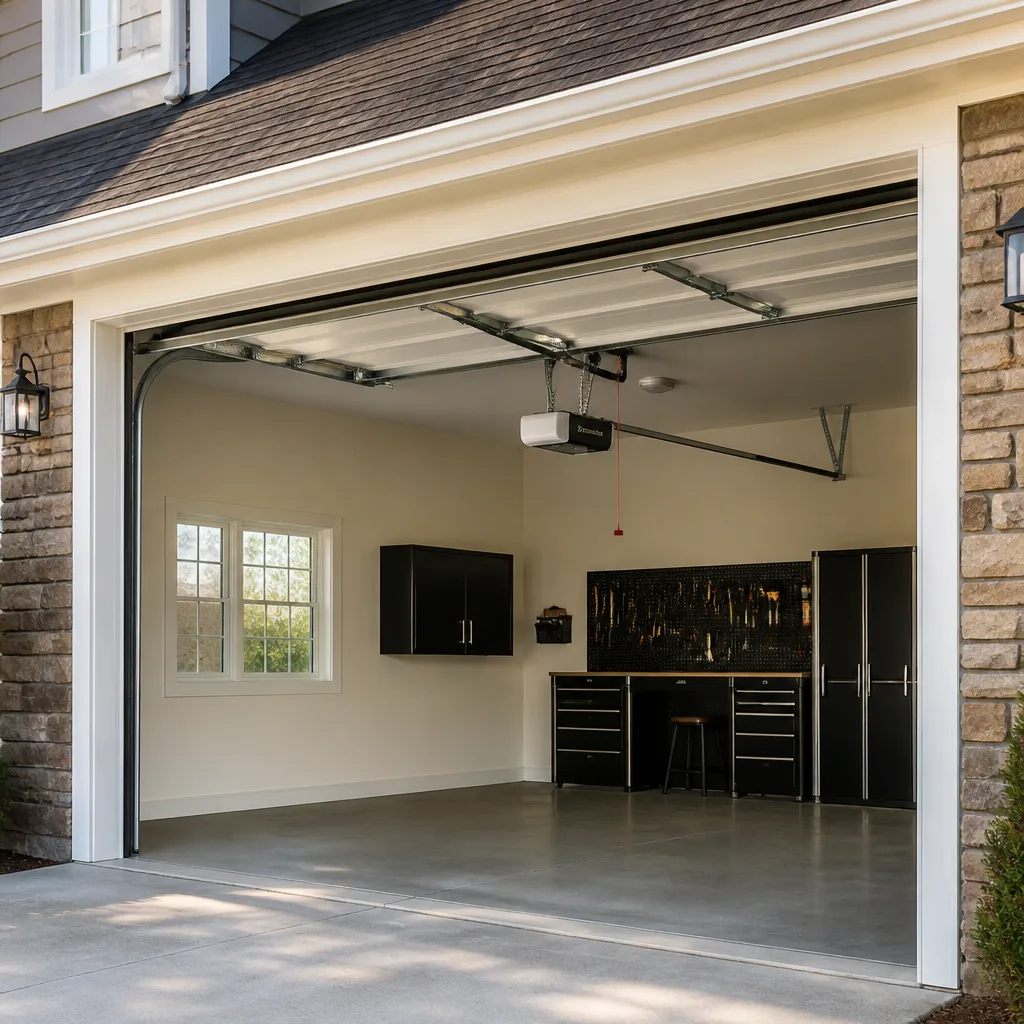 LiftMaster openers
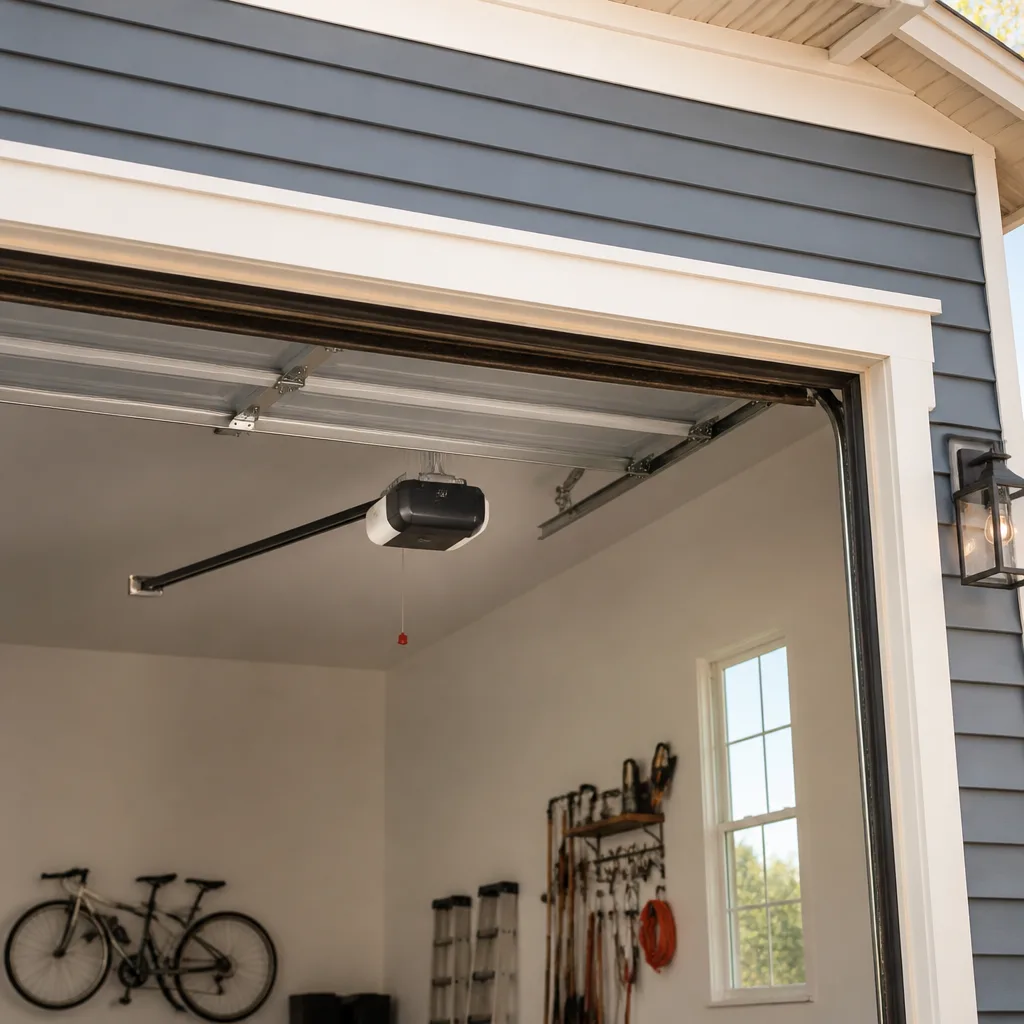 Chamberlain openers
Full 25-point door and opener safety check with every visit - springs, cables, rollers, tracks, and your LiftMaster or Chamberlain opener included
You get a price before we start. It does not change when the pro arrives.
Get your free estimateGarage Door Warning Signs: A Springfield Homeowner’s Reference Guide
Most homeowners treat every garage door noise the same way: they wait until something breaks. That’s the wrong approach. Warning signs sit on a spectrum, and the difference between “note it for a scheduled visit” and “stop using the door right now” is the single most useful thing a Springfield homeowner can learn about their door. A reverse-before-contact test failure and a dry hinge squeal can sound equally annoying from the driver’s seat, yet one points to a torsion spring within days of failure and the other is a five-minute fix. This guide gives you a triage framework for the 15 most common symptoms, noise diagnostics, the cable distinction that matters most, and the monthly test that tells you whether your opener is doing its job.
Quick Answer
Garage door warning signs fall into three tiers. Tier 1 (stop using the door): snapped or visibly stretched springs, a frayed or unraveling cable, a door that reverses before reaching the floor, or a door hanging off one track. Tier 2 (schedule within a week): an uneven door, grinding or popping noises, slow or jerky travel, or an opener that strains. Tier 3 (monitor): light squealing, cosmetic panel dents, worn weatherstripping, or a noisy but smooth-running door. Anything in Tier 1 warrants an emergency call, because continuing to operate the door can cause injury and turn a repair into a replacement.
Styles & brands we work with
- Raised-panel steel
- Carriage house
- Modern flush
- Full-view glass
- LiftMaster openers
- Chamberlain openers
Table of Contents
- The Three Severity Tiers: A Triage System for Springfield Homeowners
- 15 Common Symptoms Mapped to Their Tier
- Noise Diagnosis: What Each Sound Tells You
- Worn Cable vs. Fraying Cable: The Visual Difference That Matters
- Why an Uneven Door Is Almost Never a Track Problem
- The Monthly Safety Reversal Test Every Springfield Homeowner Should Run
- Torsion Spring Failure: The Signs That Precede a Snap
- Warning Signs Specific to Openers and Smart Systems
The Three Severity Tiers: A Triage System for Springfield Homeowners
The reason most garage door advice falls flat is that it treats every symptom as a vague “call a professional.” That’s not useful when you’re standing in the driveway at 7 a.m. deciding whether to drive to work or move your car and call for emergency service. In our experience working on doors across Springfield, the triage system below is what actually helps homeowners make a fast, safe decision.
Tier 1: Stop Using the Door
These signs mean the door is unsafe to operate. Move vehicles out if you can do so safely, keep people and pets away, and call for emergency service. The energy stored in a torsion spring is substantial – a failed spring can release enough force to bend a quarter-inch steel shaft – so a door in this state is not a DIY project.
- Snapped torsion spring (a clean break, often with a loud bang you heard from inside the house)
- Visibly stretched or gaping spring coils
- Frayed, kinked, or unraveling lift cable
- Door reverses before contacting the floor
- Door hanging off one side of the track or visibly cocked at an angle
Tier 2: Schedule Within a Week
The door still opens and closes, but something is wearing. These signs often worsen quickly, and in Springfield’s freeze-and-thaw winters, hardware that’s already stressed can fail faster than expected. Book a scheduled visit soon rather than waiting for a full breakdown.
- Door sits unevenly – one side higher than the other
- Grinding, popping, or scraping sounds during travel
- Opener strains or hesitates at the start of a cycle
- Door travels in jerks rather than a smooth line
- Rollers or hinges that are visibly cracked, bent, or worn
Tier 3: Monitor
These are maintenance items. Keep an eye on them and address them at your next scheduled service, but they don’t require an urgent call.
- Light squealing that quiets after the door warms up
- Cosmetic panel dents that don’t affect the door’s travel
- Worn weatherstripping or a bottom seal that’s flattened
- Interior and exterior lights on the opener that flicker or dim
- A noisy door that otherwise runs smoothly and evenly
Sort your symptom into a tier first, then read the section below for the deeper detail. That order keeps you from overreacting to a squeak or underreacting to a spring that’s already lost tension.
15 Common Symptoms Mapped to Their Tier
Below is the reference table our technicians use as a mental checklist. It maps the 15 symptoms Springfield homeowners most often report to their severity tier, with a one-line note on what each one usually indicates. Use it as a quick lookup.
The Reference Table
- Door reverses before the floor – Tier 1 – Safety reversal failure or a spring losing tension; opener compliance is compromised.
- Loud bang, spring visibly broken – Tier 1 – Torsion spring has snapped; do not operate.
- Stretched spring coils with gaps – Tier 1 – Spring has lost tension or is close to failure.
- Frayed or kinked cable – Tier 1 – Cable is compromised and can snap under load.
- Door hanging off the track – Tier 1 – Roller has jumped or the track is bent; unsafe travel.
- Door sits unevenly – Tier 2 – Typically a spring or cable tension issue, not the track.
- Grinding noise during travel – Tier 2 – Worn rollers, dry bearings, or debris in the track.
- Popping sound – Tier 2 – A cable sitting unevenly on a drum or a worn hinge.
- Opener strains or hesitates – Tier 2 – Failing capacitor, worn gear, or a door that’s too heavy for the opener.
- Jerky travel – Tier 2 – Binding hardware or a spring out of balance.
- Door won’t close completely – Tier 2 – Sensor misalignment, track obstruction, or travel-limit issue.
- Light squealing – Tier 3 – Dry hinges or rollers; lubricate at the next service.
- Cosmetic panel dents – Tier 3 – Monitor for rust or structural flex; no urgent action.
- Worn bottom seal – Tier 3 – Air and water infiltration; address when convenient.
- Opener light flickers – Tier 3 – Loose bulb or minor wiring; not a safety issue on its own.
How to Use the Table
Find the symptom that matches what you’re seeing, note the tier, and then double-check the tier against the safety reversal test in the section further down. A tier rating on a symptom doesn’t override a failed reversal test – if the test fails, treat the door as Tier 1 regardless of how minor the noise seemed. For a symptom in Tier 1, skip reading and call for emergency service. For a Tier 2 symptom, get a scheduled visit on the calendar within the week. For a Tier 3 item, add it to your maintenance list and bring it up the next time a technician is out.
Noise Diagnosis: What Each Sound Tells You
The sound your door makes is one of the most precise diagnostic tools you have – provided you know what each one means. “A noise” is not specific enough. Grinding, popping, and squealing come from three different mechanical causes, and they carry three different urgency levels. Here’s how to tell them apart.
Grinding
Grinding is a low, rough, continuous sound during travel. It almost always points to worn rollers, dry bearings, or debris that’s gotten into the track. On a Springfield door that’s seen a winter or two of road grit and salt tracked into the garage, debris in the track is a common cause. Urgency: Tier 2. Get it scheduled – grinding rollers left alone will eventually flatten and bind, and a bound door is harder on the opener.
Popping
Popping is a sharper, more intermittent sound. You’ll hear it as the door passes a specific point in its travel. The two most common causes are a cable that’s sitting unevenly on its drum and a worn or dry hinge. Urgency: Tier 2, but urgent if the popping is paired with an uneven door or visible cable slack. Popping plus unevenness is a strong signal to stop using the door and call for service.
Squealing
Squealing is a high-pitched sound, often worst in cold weather when metal contracts and gaps open slightly. It’s the classic sign of dry hinges, dry rollers, or a dry torsion spring. Urgency: Tier 3. Squealing is annoying but rarely dangerous on its own. Have a technician lubricate at the next scheduled visit rather than spraying lubricant blindly onto a spring you don’t understand.
Rattling and Banging
Rattling usually means loose hardware – a few bolts worked loose over years of vibration. Banging that gets louder over time is a stronger symptom, since it can point to a door that’s out of balance or a spring that’s losing uniform tension. Treat loud banging that’s grown worse over multiple cycles as Tier 2 and schedule a visit.
Worn Cable vs. Fraying Cable: The Visual Difference That Matters
Not every cable problem is an emergency. The distinction is between a cable that’s showing signs of age and a cable that’s actively failing. One is a scheduled repair; the other means stop using the door.
Worn Cable
A worn cable looks tired but intact. The steel strands are still tight, there are no broken filaments, and there’s no visible kink. You might see light discoloration or slight dullness where the cable rides over the drum, and the cable may be slightly looser than it once was. What to do: Note it, bring it up at your next scheduled service, and have the technician assess whether it’s within tolerance. A worn cable is Tier 2 – schedule within a week of noticing it, don’t put it off for months.
Fraying Cable
A fraying cable is a failing cable. You’ll see broken filaments sticking out of the wraps like wire bristles, a kink where the strands have started to separate, or a noticeable slack where the cable has begun to unwind from the drum. What to do: Stop using the door. Tier 1. A fraying cable can snap without warning under load, and the snap is both a safety hazard and a mechanical shock to the rest of the door system. Call for emergency service.
How to Check Safely
You can visually inspect the cables with the door in the closed position, standing back and looking at where the cable meets the drum and where it disappears toward the bottom bracket. Do not touch the cable, do not try to “seat” it back on the drum, and do not tension or loosen anything. The bottom bracket area is under heavy load and is one of the most dangerous regions on the whole door. A trained technician, not a homeowner, adjusts the cable. If your door uses Raynor or Amarr hardware – both common on Springfield homes – the cable routing differs from other brands, and forcing a re-seat is exactly the kind of mistake that turns a scheduled repair into an emergency visit.
Why an Uneven Door Is Almost Never a Track Problem
This is the single most misinterpreted warning sign on a garage door. Homeowners see a door that’s higher on one side and conclude the track has bent. That’s almost never what’s happening.
What’s Actually Going On
An uneven door is a balance problem, and balance on most modern doors comes from the torsion spring system above the door (or, on older doors, extension springs to the sides). When one side of the door sits higher than the other, the usual causes are:
- A torsion spring that’s lost uniform tension across its coils
- One lift cable that’s slack, stretched, or sitting incorrectly on its drum
- A broken extension spring on one side (on older double-spring doors)
- Rollers that have worn differently on one side, adding resistance unevenly
A bent track is a real thing, but it’s usually the result of a door that hit something while moving or got bumped by a vehicle – not the cause of the door hanging unevenly in the first place.
Why It Matters
Trying to fix an uneven door by bending the track back into alignment is a common homeowner mistake. It doesn’t fix the underlying balance problem, and it can throw off the door’s travel so badly that it binds, jumps the track, or strains the opener to the point of failure. Even unevenness of more than a small fraction of an inch is Tier 2 at minimum, and any unevenness paired with a noise is Tier 1. A spring specialist can trace the imbalance back to its source and correct the tension – which is why we treat garage door spring repair as its own specialty rather than a checkbox on a general repair call.
The Monthly Safety Reversal Test Every Springfield Homeowner Should Run
The safety reversal system is the single most important safety feature on your door. It’s also the one homeowners test least often. The test takes about two minutes and tells you, month by month, whether your opener is doing its job. It’s a Tier 1 indicator when it fails.
How to Run the Test
- Stand on the driveway with the door in the open position and a clear view of its travel. No children or pets in the path.
- Place a solid object – a 2×4 laid flat, or a rolled-up piece of cardboard about 1.5 inches thick – on the floor directly under the door’s path.
- Press the wall control or remote to close the door.
- The door should contact the object and immediately reverse to the fully open position.
- If the door does not reverse, or if it reverses only after hitting the object hard, your reversal system has failed.
What a Failure Means
A reversal failure means your opener is not meeting its safety obligations. This isn’t a style preference or a “nice to have” – it’s a functional failure that needs correction before the door is used again. Stop using the door and call for service. Some reversal failures are simple: misaligned photo-eye sensors, or a sensor lens blocked by dust or a cobweb. Others point to a mechanical issue with the door’s balance or a limit setting that’s drifted. Either way, the fix belongs on a professional call, not a homeowner adjustment.
Also Test the Photo-Eye Sensors
On openers from LiftMaster, Chamberlain, Genie, and Craftsman – all of which use the same basic photo-eye principle – the sensor test is separate from the reversal test. Wave a hand or a broomstick slowly across the light beam while the door is closing. The door should reverse. If the door closes anyway, or the opener’s indicator light shows a problem, treat it as a Tier 1 symptom. Mention the sensor behavior when you call, since it narrows down what type of garage door opener repair is needed.
Torsion Spring Failure: The Signs That Precede a Snap
A snapped torsion spring is the most common garage door emergency we see in Springfield, and the good news is that it rarely snaps without warning. The warning signs are quiet but consistent. Catching them turns an emergency into a scheduled repair.
The Pre-Failure Signs
- Door reverses before the floor. A torsion spring that’s losing energy can’t lift the door’s weight at the end of travel. The opener reads that as resistance and reverses. Many homeowners mistake this for a sensor problem, but a damaged spring is a more likely cause and the fix is far more involved.
- Spring coils are stretched with visible gaps. Look at the length of the spring above the door. If the coils have opened up and you can see daylight between the wraps, the spring has already lost tension and is close to failure.
- Door feels unusually heavy on manual release. If you can safely pull the manual release with the door in the closed position and the door feels like dead weight, the spring is no longer doing its job. Do not try to lift the whole door this way – just note the resistance and re-engage the release.
- Door drops slightly when it reaches full open. A door that hangs, dips, or sags a fraction when it fully opens is another spring strain signal.
- Loud metallic pop you can hear from inside the house. If you’ve already heard this, the spring has likely snapped. Stop using the door.
Why We Treat This as Tier 1
A torsion spring holds the door’s full weight in tension – which is why a failure can be violent. We don’t recommend homeowners attempt to remove, adjust, or wind a torsion spring, and we don’t recommend operating a door whose spring is showing any of these signs. The right move is to stop, call, and let a trained technician handle it. A door with a compromised spring can’t be safely cycled, and cycling it repeatedly is what turns a scheduled repair into an after-hours emergency.
Pair Replacement and What to Expect
Torsion springs are usually replaced as a matched pair, even when only one has failed. The reason is simple: both springs have the same age and cycle count, so if one snapped, the second is likely within the same failure window. A pair also keeps the door balanced. A technician will quote both the single-spring scenario and the matched-pair scenario so the choice is yours, and the price you agree before work starts is the price on the invoice.
Warning Signs Specific to Openers and Smart Systems
Opener problems can look like door problems, and door problems can look like opener problems. Sorting one from the other is the diagnostic step that keeps you from chasing the wrong fix. Here are the signs that specifically point to the opener.
Classic Opener Signs
- The door reverses immediately after starting to close. This is almost always a photo-eye or sensor issue if the door reverses instantly – not a spring issue. Clean the sensor lenses and check alignment before calling.
- The opener strains or hesitates at start. A failing capacitor, worn drive gear, or a door that’s become too heavy for the opener. Tier 2 usually, Tier 1 if the door has an obvious physical problem.
- The opener runs but the door doesn’t move. A stripped gear or a broken drive belt on a belt-drive opener. Note: a LiftMaster belt-drive and a Genie screw-drive fail differently, and the diagnostic approach differs by brand.
- The wall control works but the remote doesn’t (or vice versa). Rarely the opener motor itself – usually a remote battery, a programmed-frequency issue, or a short in the wall wiring.
- Smart-home app shows the door status incorrectly. A modern Chamberlain or LiftMaster MyQ-connected opener that reports the wrong status is usually a Wi-Fi module issue, not a mechanical one.
Smart Opener Considerations
Openers that are app-connected add a new diagnostic category: software. A Chamberlain or Genie smart opener that stops responding to the app but still works on the wall control is telling you the problem sits with the module or the wireless connection, not the door’s mechanics. That’s a good sign – the safety-critical hardware is fine. A smart opener that won’t reverse on command, on the other hand, is a Tier 1 safety failure regardless of what the app says.
Brand-Aware Diagnostics
The brand of your opener changes how a technician diagnoses it. A LiftMaster with a belt drive has different failure modes than a Genie screw-drive, and a Craftsman unit with legacy safety sensors responds differently from a current Chamberlain. This is why we ask for the brand and model before scheduling – it lets the right specialist bring the right diagnostic approach on the first call instead of the second. If you’re not sure which brand you have, the model label on the back or side of the motor housing is usually enough.
Common Mistakes to Avoid
- Operating a door with a failed reversal test. This is the most dangerous mistake on this list. A door that won’t reverse when it hits an object can crush fingers, hands, or a pet every time it closes. Stop using the door and call for service.
- Spraying lubricant on a torsion spring without knowing the spring type. The wrong lubricant on a torsion spring can attract grit and shorten its life. Leave spring lubrication to a technician who knows your spring’s material and load.
- Bending the track to fix an uneven door. The track is almost never the problem, and bending it doesn’t correct the underlying balance issue. It just changes how the door travels over an already-imbalanced track.
- Trying to lift the door manually to “see if it works.” If the manual release has been pulled and the door feels heavy, do not try to raise it. The door is under spring tension – or not, which is the problem – and its full weight can come down hard.
- Ignoring a small squeal until it becomes a grinding noise. A squeal is cheap to address at a scheduled service. Grinding rollers cost more to repair because they’ve begun to bind the door and strain the opener.
- Assuming a smart-home connection is the problem when it’s the sensor. A door that reverses immediately after starting to close is a sensor issue far more often than a Wi-Fi issue. Check the photo-eye beam first.
- Waiting out a cold snap before calling about a stretched spring. Springfield’s freeze-and-thaw winters stress springs hard. A stretched spring doesn’t stabilize when the weather warms – it continues to lose tension. Book the visit.
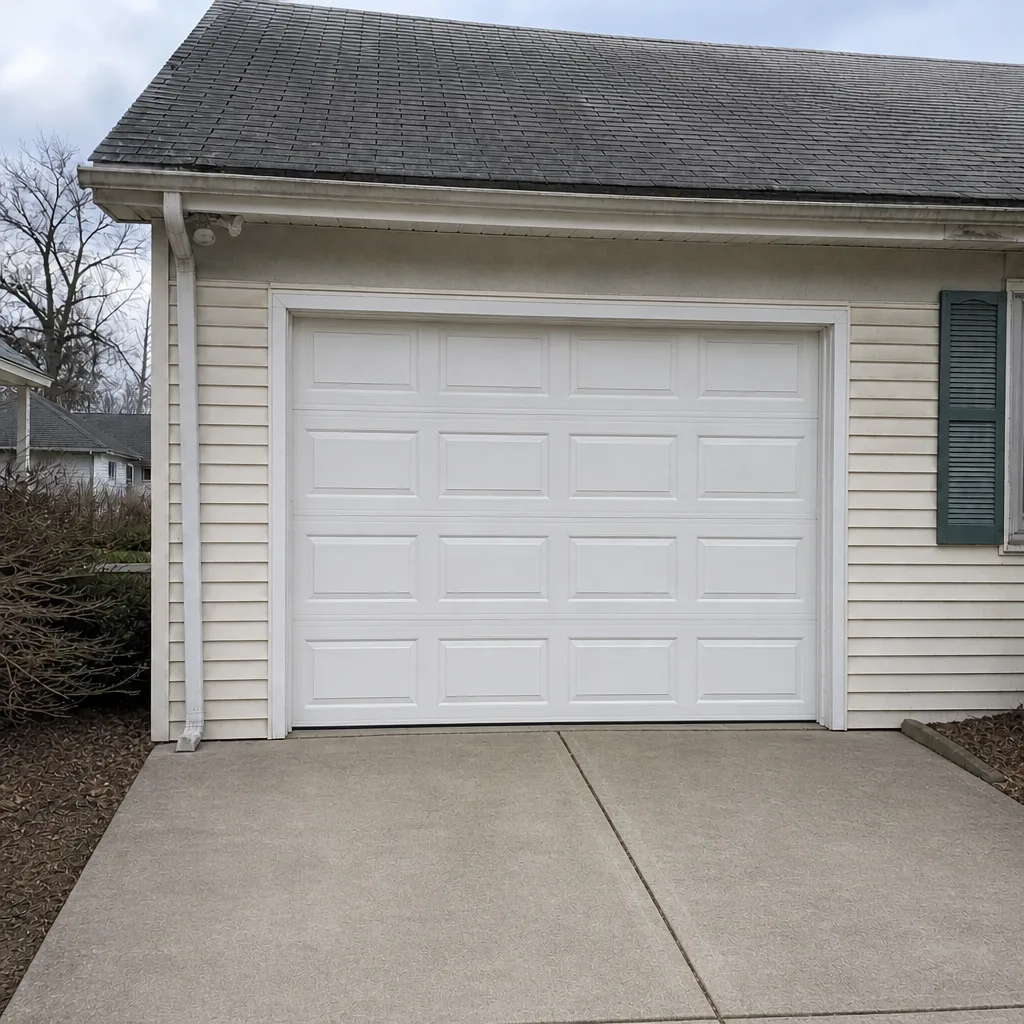
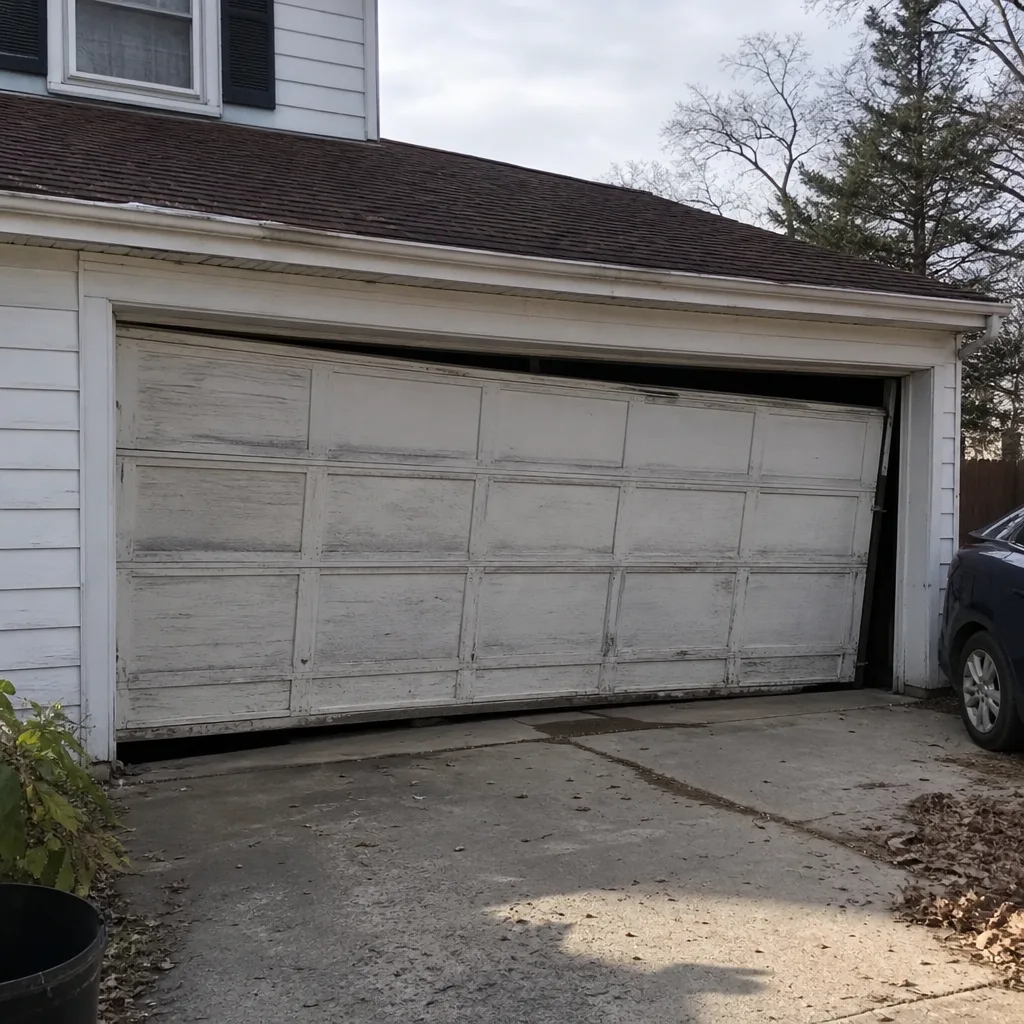
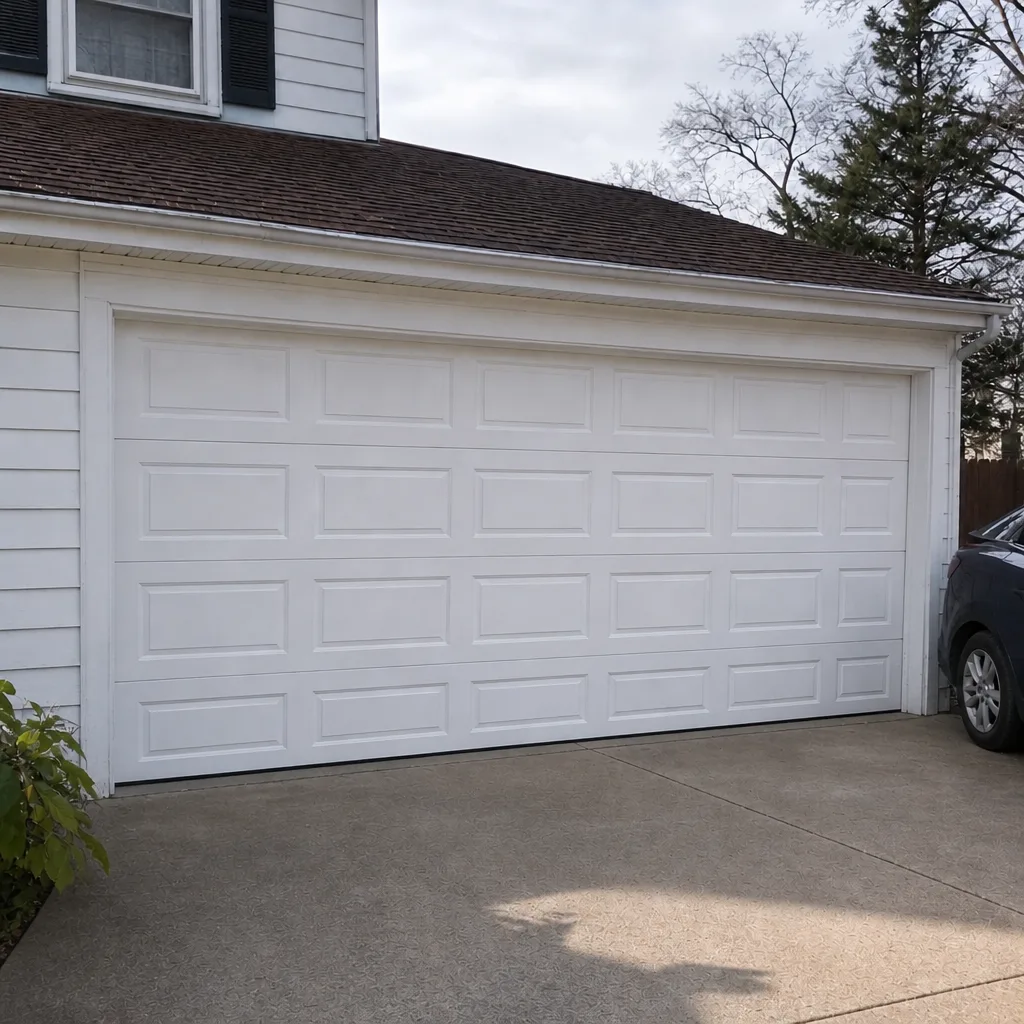
See the difference
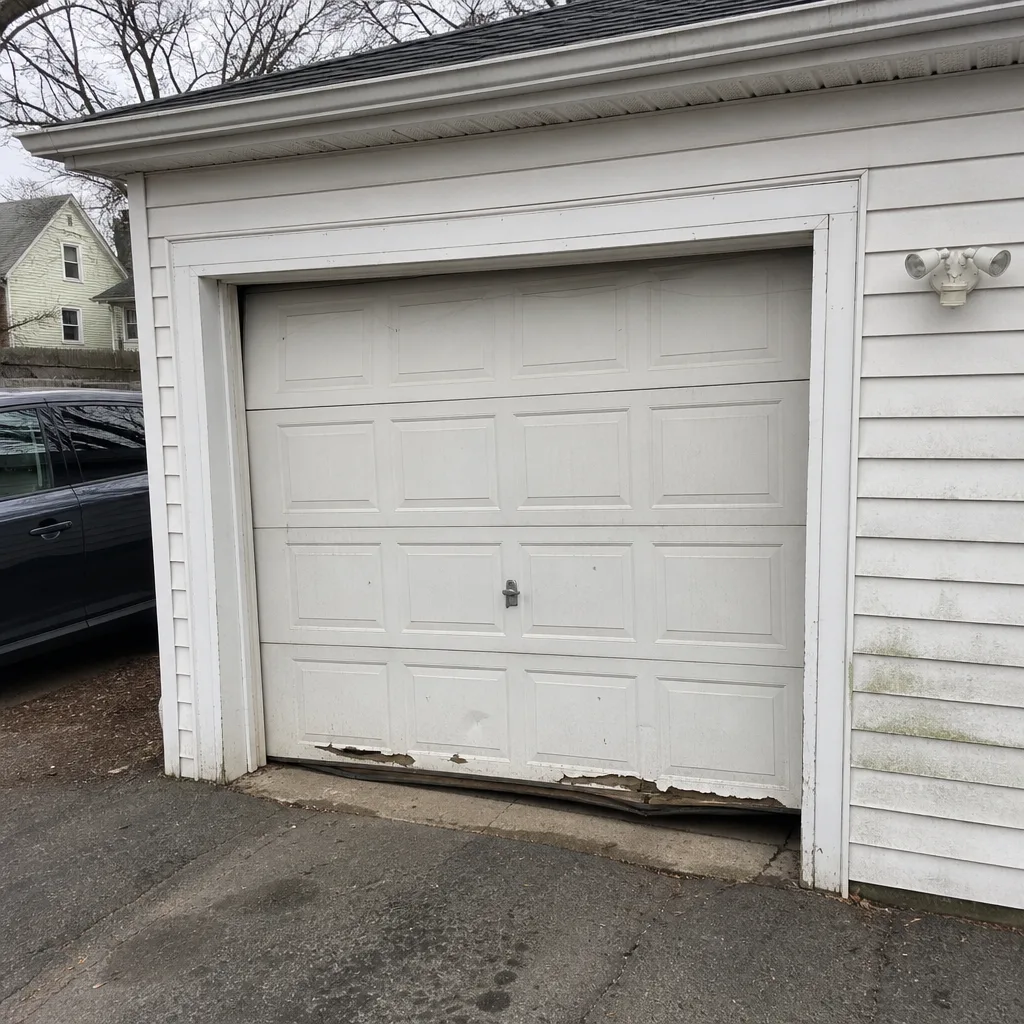 Before
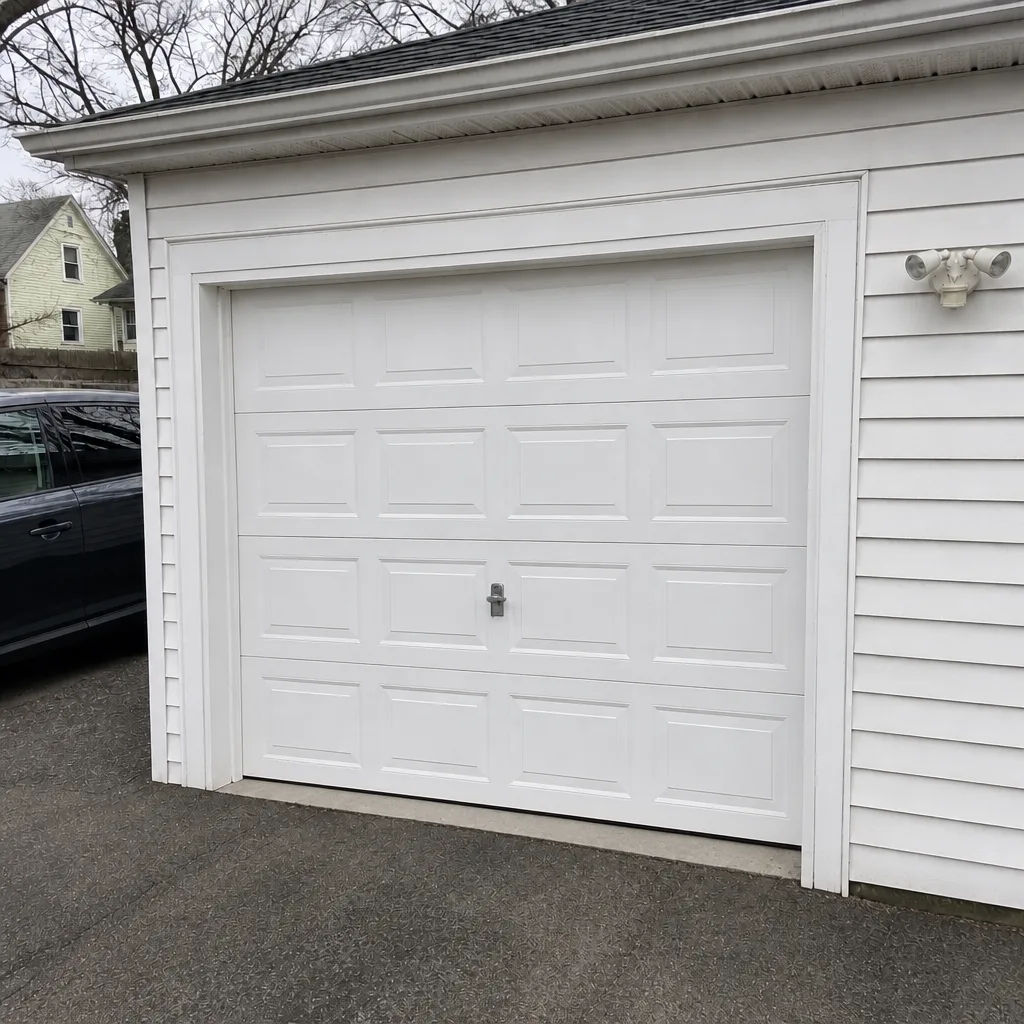 After
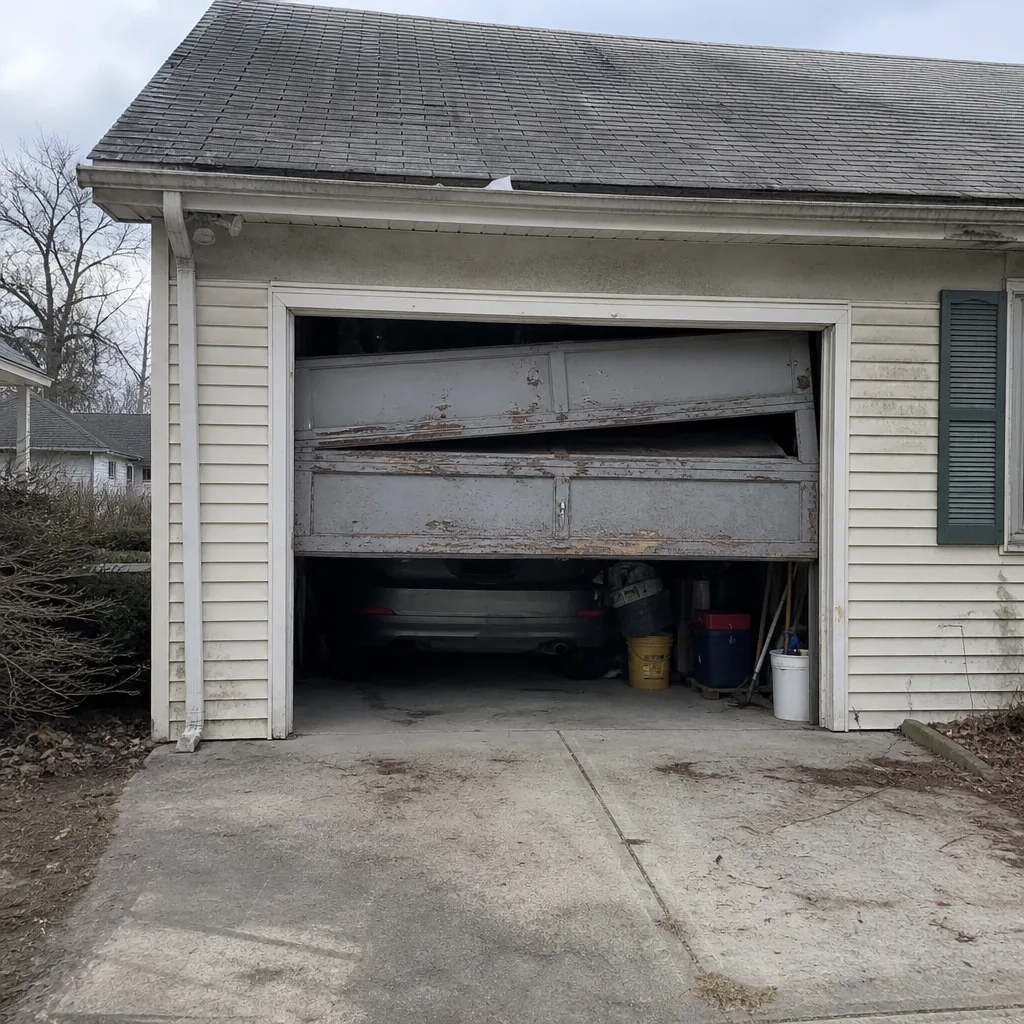 Before
 After
 Before
 After
When to Call a Professional
Call for service when any Tier 1 symptom is present: a snapped or stretched spring, a frayed cable, a door hanging off the track, or a failed reversal test. Call and schedule within a week for Tier 2 symptoms: an uneven door, a grinding or popping noise, a jerking or straining door, or worn hardware you can see. Springfield Garage Door Repair Pros offers free estimates in Springfield – call (855) 952-3962. Our technicians have up to 11 years of experience across the major brands homeowners actually own, including LiftMaster, Chamberlain, Genie, Clopay, Amarr, Wayne Dalton, Craftsman, and Raynor, and we handle everything from diagnosis and repair to opener service, spring replacement, and full new-door installation. If your door is in Tier 1, tell the dispatcher which symptom you’re seeing – it changes what we prioritize on the first call.
Frequently Asked Questions
A door that reverses before reaching the floor is the highest-priority sign. It usually means a torsion spring is losing tension or the safety reversal system has failed, and either one is unsafe to operate. Stop using the door and call for service – estimates are free, so there’s no cost to finding out exactly what’s wrong.
Spring repair is priced per spring, and a matched pair costs about twice the single-spring price, since the two springs have the same age and cycle count and should be replaced together. A technician will quote both single and pair scenarios so you can choose. The written estimate sets the final price – the number you agree before work starts is the number you pay. Call (855) 952-3962 for an exact quote – estimates are free.
Yes – a door stuck open is a security and weather exposure issue, and emergency service is a dedicated offering on our side of the business, not an afterthought. Call (855) 952-3962 and tell the dispatcher that the door is stuck open. If you can safely move valuables inside the home, do so before the technician arrives – we can walk you through a temporary safe option if the door isn’t fully open.
Use the tier system. Adjustment fits Tier 3 symptoms: a fiddly limit setting, a squealing hinge, or light wear. Full repair fits Tier 2 and Tier 1 symptoms: uneven travel, grinding, popping, a stretched spring, or a failed reversal test. If you’re unsure which bucket a symptom belongs in, describe it when you call – the dispatcher can tell you whether to schedule a routine visit or call for emergency service.
A door that reverses before contacting the floor is usually responding to a torsion spring that’s lost tension, letting the door’s weight overwhelm the opener’s force setting. It can also be a photo-eye sensor issue if the reversal is instant. Either way, treat it as Tier 1 until a technician rules out the spring – it isn’t a symptom to ignore.
We work on LiftMaster, Chamberlain, Genie, Clopay, Amarr, Wayne Dalton, Craftsman, and Raynor systems. If your door or opener carries one of those names, we can diagnose and repair it without referring you out. Springfield homeowners with a brand not on that list should mention the model when calling so we can tell you upfront whether we can take the job – one call, full answer, no rerouting. Call (855) 952-3962 for a free estimate.
The Bottom Line
Warning signs on a garage door aren’t equal, and treating them as if they are either causes unnecessary panic over a squeal or, worse, a homeowner continuing to operate a door that’s one cycle away from a snapped spring. Use the three-tier system: Tier 1 (a snapped or stretched spring, a frayed cable, a door off the track, a failed reversal test) means stop using the door and call for emergency service; Tier 2 (unevenness, grinding or popping, a straining opener) means schedule within a week; Tier 3 (light squealing, worn seals, minor dents) means monitor and address at the next service. Pair that framework with the monthly reversal test and the noise-to-cause mapping above, and you’ll catch problems while they’re still small. If anything reads as Tier 1, call Springfield Garage Door Repair Pros for garage door repair in Springfield – (855) 952-3962 for a free estimate and a same-day dispatch when the situation calls for it.
Written by the team at Springfield Garage Door Repair Pros.